
Crispy Panko Chicken: Quick & Easy Recipe! (From My Kitchen to Yours!)
Hello, my loves! Amira here, from CookwithAmira, and I’m absolutely thrilled to share one of my family’s all-time favorite recipes with you: Crispy Panko Chicken. This isn’t just any chicken recipe; it’s a hug on a plate, a taste of home, made with love and simple ingredients. If you’re looking for a quick, easy, and incredibly delicious meal, you’ve come to the right place! This recipe makes the most amazing crusted chicken. It’s perfect for a weeknight dinner or a casual weekend gathering, and I promise, even the pickiest eaters will ask for seconds. This truly is the best breaded chicken!
Why You’ll Absolutely Love This Crispy Panko Chicken Recipe
Oh, my dears, let me tell you why this crispy panko chicken will become a staple in your kitchen! It’s more than just a meal; it’s an experience. This is more than just a chicken recipe, it’s a family favorite!
- Quick & Easy: From prep to plate, this recipe comes together in under 30 minutes. Perfect for busy weeknights!
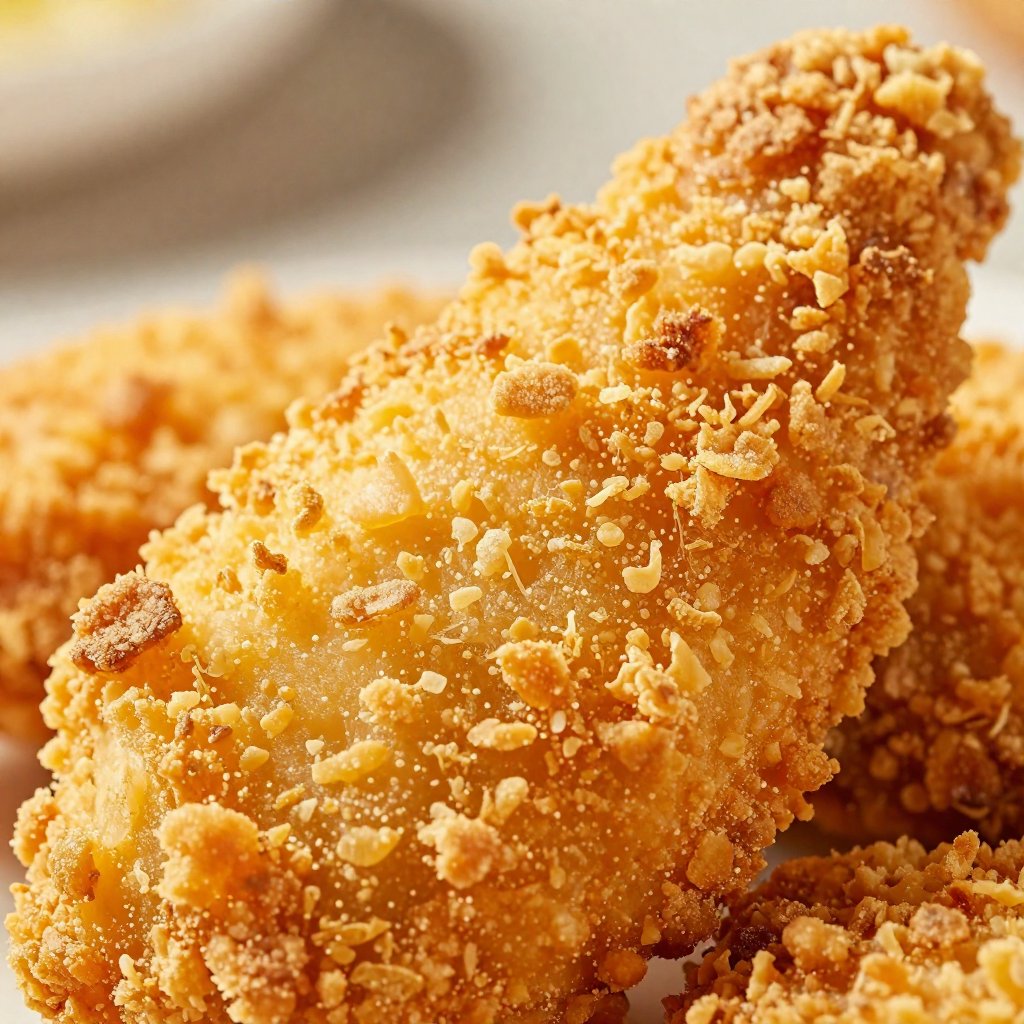
- Incredibly Crispy: The panko breadcrumbs create the most satisfying crunch.
- Simple Ingredients: You probably already have most of these ingredients in your pantry.
- Kid-Friendly: Even the little ones will devour this delicious chicken.
- Versatile: Serve it with your favorite sides, in salads, or even in sandwiches.
If you’re new to cooking, don’t worry! This recipe is foolproof and easy to follow. I’ve included all my tips and tricks to ensure your chicken turns out perfectly crispy and flavorful every single time. So, grab your apron, and let’s get cooking! And trust me, if you are looking for something similar to fried chicken, but healthier, this is it!
The Heart of the Recipe: The Ingredients
Here’s what you’ll need to create this masterpiece. Remember, good ingredients make for a great meal! These ingredients are simple and flavorful!
- 2 boneless, skinless chicken breasts
- 1/2 cup all-purpose flour
- 1 large egg
- 1 1/2 teaspoons fine sea salt, divided
- 1 teaspoon black pepper, divided
- 1/2 teaspoon onion powder
- 1/2 teaspoon garlic powder
- 1 cup plain panko breadcrumbs
- 1/2 cup grated parmesan cheese
- 1 teaspoon Cajun seasoning or Italian seasoning
- 1 teaspoon paprika
- 2 Tablespoons extra virgin olive oil
- 1 Tablespoon butter
Let’s Get Cooking: Step-by-Step Instructions
Now for the fun part! Follow these simple steps, and you’ll have golden, crispy chicken in no time. Remember, cooking is an act of love, so put your heart into it!
- Using a sharp knife, carefully fillet each chicken breast into two thinner cutlets. Cover the chicken with plastic wrap and lightly pound the thicker parts of each breast with a rolling pin or meat pounder to give the chicken an even thickness. Season the chicken breasts with 1/2 tsp salt and 1/2 tsp black pepper.
- Arrange 3 plates or shallow dishes for the breading stations. In the first dish add the flour and 1/2 teaspoon each of salt, black pepper, onion powder and garlic powder. Mix together with a fork and set aside.
- In the 2nd dish add the egg and 1 tsp of water. Lightly beat the egg and set the dish to the side.
- In the 3rd dish add the panko breadcrumbs, parmesan cheese, 1/2 tsp salt, Cajun seasoning or Italian seasoning and paprika. Mix together and set aside.
- Using your hands or tongs, begin to coat each chicken breast by first tossing them in the flour mixture on both sides and shake off any excess flour. Then coat the chicken breasts with the egg mixture on both sides, letting any excess egg run off. Then transfer the chicken to the panko breadcrumbs mixture. Pat the breadcrumbs into the chicken breasts and coat them evenly on both sides.
- Heat a large skillet over medium heat and add the olive oil and the butter. Once the skillet is hot, add the chicken breasts and pan fry for approximately 3-4 minutes on each side. If your skillet is getting too hot, turn your heat down to medium-low. You want the chicken breasts to cook all the way through without burning too quickly. Take your time, don’t rush it.
- Once the chicken is golden brown on both sides and have an internal temperature of at least 165°F, remove them from the skillet. Allow the chicken to rest on a wire rack to keep them crispy. Enjoy!
Amira’s Pro Tips for Perfect Crispy Chicken
Here are a few of my favorite tips to ensure your chicken turns out perfectly every time. These little secrets make a big difference!
- Pound the Chicken: This ensures even cooking and tenderizes the chicken.
- Don’t Overcrowd the Pan: Cook the chicken in batches to maintain the heat and ensure even browning.
- Use a Wire Rack: Resting the chicken on a wire rack keeps it crispy by preventing it from steaming.
- Check the Internal Temperature: Use a meat thermometer to ensure the chicken reaches 165°F for safety.
- Don’t Rush It!: Pan frying the chicken takes time, so be patient and don’t burn it!
Common Mistakes to Avoid
We all make mistakes, darling! Here are a few common ones to watch out for, so your chicken is always perfect. If you follow this recipe, you’re chicken will be the best breaded chicken you’ve ever made! This crusted chicken recipe is fail-proof!
- Overcooking the Chicken: This leads to dry, tough chicken. Use a meat thermometer!
- Not Pounding the Chicken: Uneven thickness results in uneven cooking.
- Using Stale Breadcrumbs: Fresh panko breadcrumbs are key to the perfect crunch.
- Overcrowding the Pan: Lowers the temperature and results in soggy chicken.
- Not Seasoning Properly: Don’t be afraid to be generous with your spices!
Variations to Make it Your Own
Cooking is all about creativity! Feel free to experiment and add your own personal touch to this recipe. You can add so much flavor by experimenting with spices!
- Spice it Up: Add a pinch of cayenne pepper to the breadcrumb mixture for a little heat.
- Herbaceous: Mix in some dried herbs like thyme, rosemary, or oregano.
- Cheesy: Use a blend of parmesan and mozzarella cheese for an extra cheesy flavor.
- Lemon Zest: Add some lemon zest to the breadcrumb mixture for a bright, citrusy flavor.
- Gluten-Free: Use gluten-free flour and breadcrumbs for a gluten-free version.
Storing and Reheating Your Crispy Chicken
Got leftovers? No problem! Here’s how to store and reheat your crispy chicken to keep it tasting delicious. This chicken recipe is great for sharing, but it’s also great for leftovers!
- Storing: Store leftover chicken in an airtight container in the refrigerator for up to 3 days.
- Reheating: For the best results, reheat the chicken in the oven at 350°F (175°C) for about 10-15 minutes, or until heated through. You can also use an air fryer for a quicker option.
- Avoid Microwaving: Microwaving can make the chicken soggy, so it’s best to avoid it if possible.
Frequently Asked Questions (FAQ)
I’ve gathered some of the most common questions about this recipe to help you along the way. If you have any other questions, feel free to ask!
- Can I bake the chicken instead of pan-frying it? Yes, you can! Place the breaded chicken breasts on a baking sheet and bake in the oven at 400°F (200°C) for about 20-25 minutes, or until cooked through.
- Can I use different types of breadcrumbs? While panko breadcrumbs provide the best crunch, you can use regular breadcrumbs if that’s what you have on hand.
- Can I freeze the breaded chicken? Yes, you can freeze the breaded chicken before cooking. Place the breaded chicken breasts on a baking sheet and freeze for about 2 hours, or until solid. Then, transfer them to a freezer bag and store for up to 2 months. When ready to cook, bake directly from frozen, adding a few extra minutes to the cooking time.
- What is the best way to check if the chicken is cooked through? Use a meat thermometer to check the internal temperature. The chicken should reach 165°F (74°C).
- Can I use chicken thighs instead of chicken breasts? Yes, you can! Just adjust the cooking time accordingly.
Serving Suggestions: Complete the Meal with Love
This crispy panko chicken is incredibly versatile and pairs well with so many dishes. Here are a few of my favorite serving suggestions to create a complete and satisfying meal.
- Classic Sides: Serve with mashed potatoes, roasted vegetables, or a simple salad.
- Pasta: Pair with your favorite pasta dish, like creamy alfredo or marinara sauce.
- Sandwiches: Slice the chicken and use it in sandwiches or wraps with your favorite toppings.
- Salads: Add the crispy chicken to a salad for a protein-packed and flavorful meal.
- Bowls: Create a delicious bowl with rice, beans, and your favorite toppings. Try these greek-chicken-bowls or chicken-gyro-bowls!
More Chicken Recipes You’ll Adore
If you loved this recipe, here are a few more chicken dishes from my kitchen that I know you’ll enjoy! You can even try my creamy-crockpot-garlic-parmesan-chicken-pasta!
- Lemon Herb Roasted Chicken
- Garlic Parmesan Chicken Wings
- Honey Mustard Chicken Tenders
- BBQ Chicken Skewers
From My Kitchen to Yours, with Love
Thank you for joining me in my kitchen today! I hope you enjoy this Crispy Panko Chicken recipe as much as my family does. Remember, cooking is an act of love, so pour your heart into it and share it with those you cherish. If you try this recipe, please let me know what you think! I love hearing your feedback and seeing your creations. Until next time, happy cooking, and lots of love from CookwithAmira! Thank you for sharing your feedback with me; I love hearing from you! For sharing your feedback, I am grateful. Loved it! For sharing your love of food!

Crispy Panko Crusted Chicken Breasts
Ingredients
Method
- Fillet chicken, pound to even thickness, and season with 1/2 tsp salt and 1/2 tsp pepper.
- Arrange 3 breading stations: flour with salt, pepper, onion powder, garlic powder; egg with water; panko, parmesan, salt, Cajun/Italian seasoning, paprika.
- Coat chicken in flour, then egg, then panko mixture, patting breadcrumbs to adhere.
- Heat olive oil and butter in a skillet over medium heat. Pan fry chicken for 3-4 minutes per side until golden brown and internal temperature reaches 165°F.
- Rest chicken on a wire rack to keep crispy. Enjoy!